Nail art isn’t going anywhere fast. It took me a while to come around, but I currently have mini watermelons painted on my nails and I can’t help but smile as I see the tips out of the corner of my eyes as I type. While it takes patience and precision, it’s not as hard as you might think to create your own summer nail art. For some inspiration I asked Ryoko Garcia, a Gelish nail pro, for two easy, summer nail art ideas.
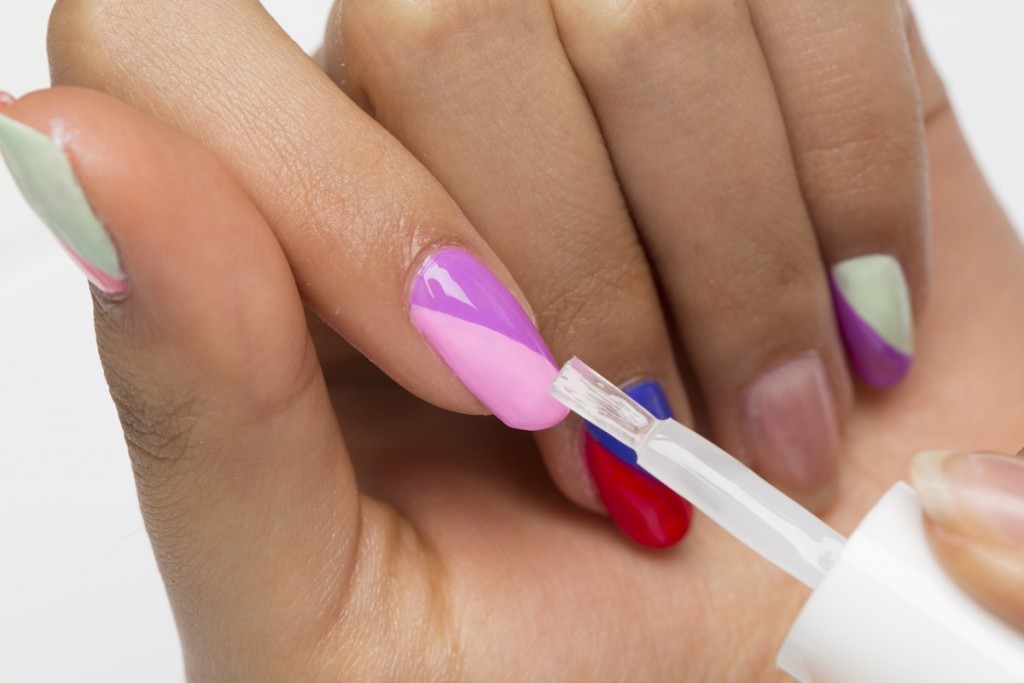
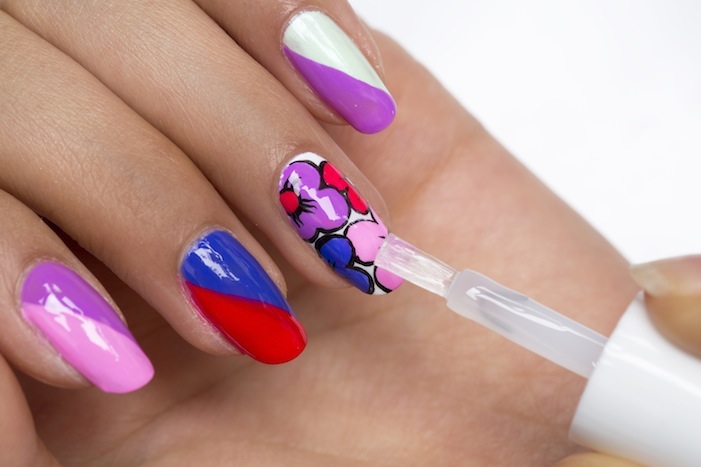
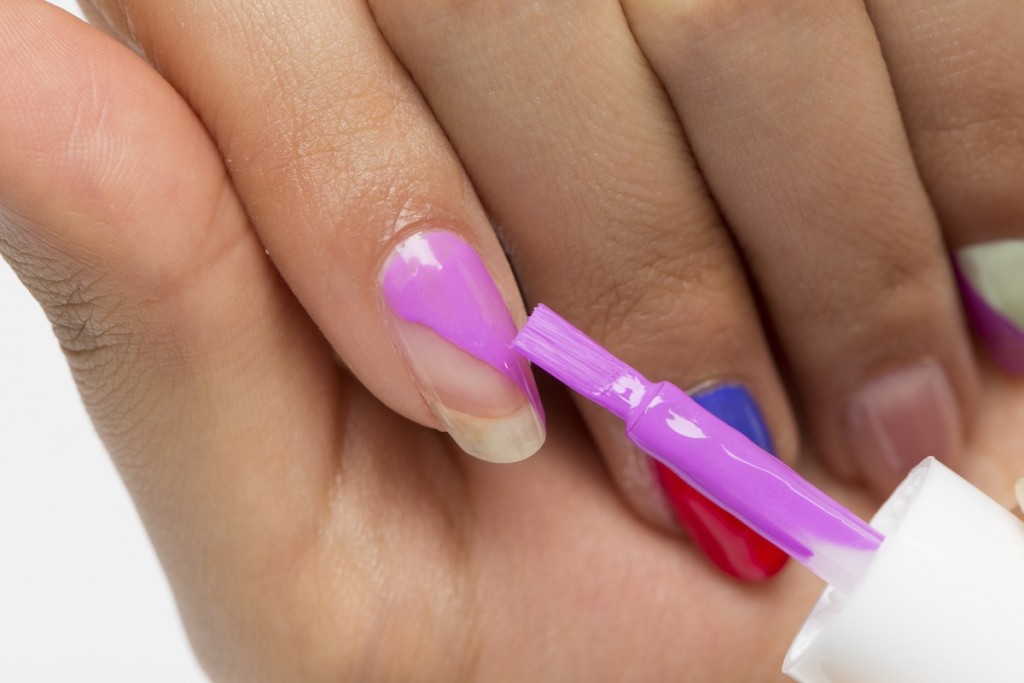 Step 1: After prepping nails apply your first nail polish color to the nail filling in half of the nail diagonally. Repeat for the desired coverage.
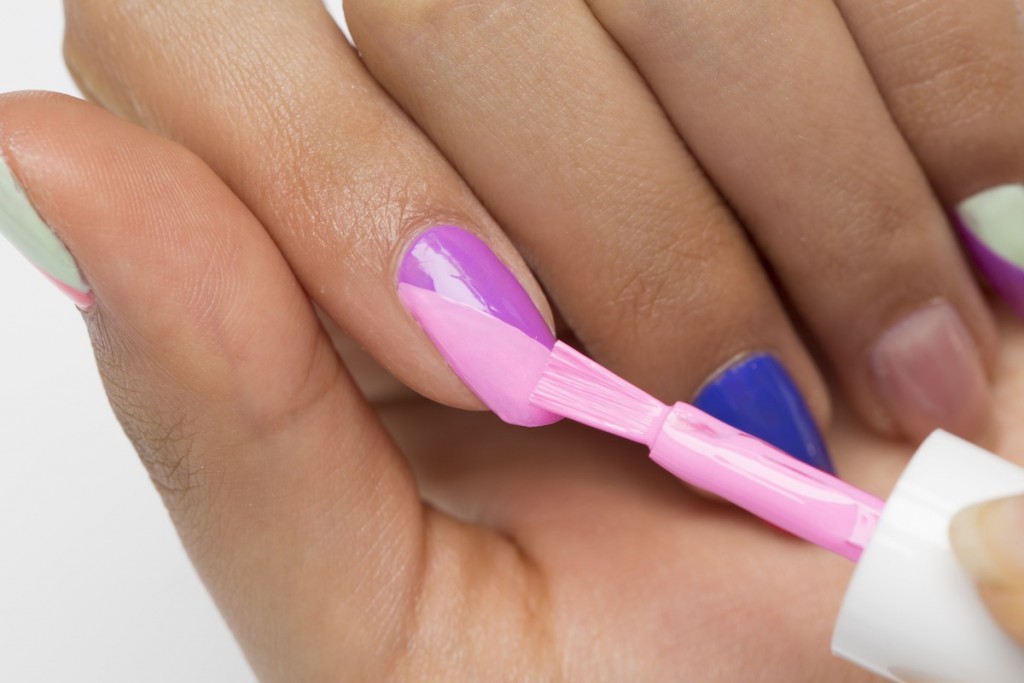 Step 2: Fill in the remaining half of the nail diagonally with a second shade. Repeat for full coverage.
Here’s another idea that’s a little more advanced, but also totally doable!
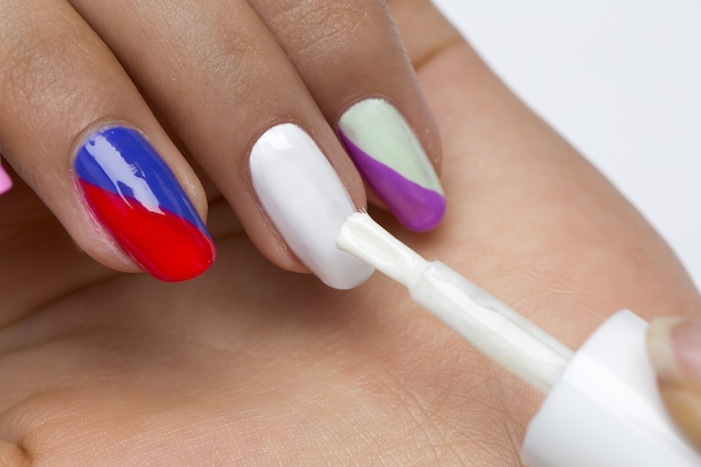 Step 1: After prepping nails apply a thin coat of white polish.
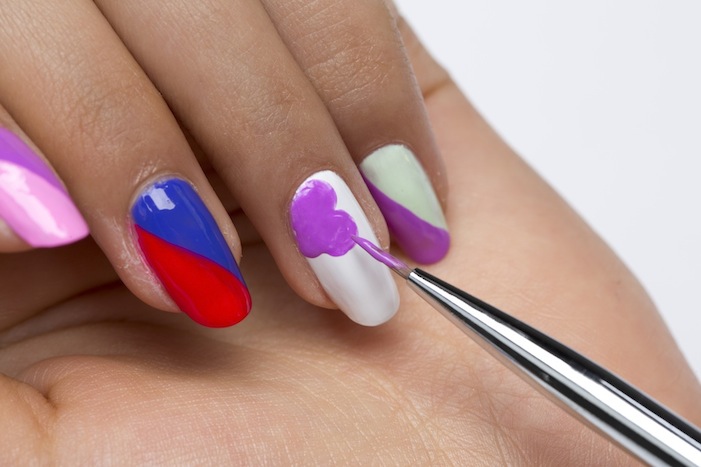 Step 2: Using a thin brush, create flower petals by connecting four circles together in the upper right of the nail.
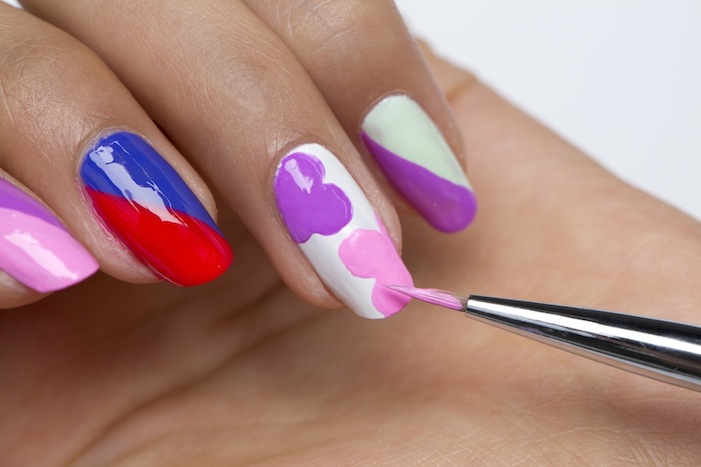
Step 3: Using a mini brush and a second shade of polish, create flower petals by connecting four circles together in the lower right of the nail.
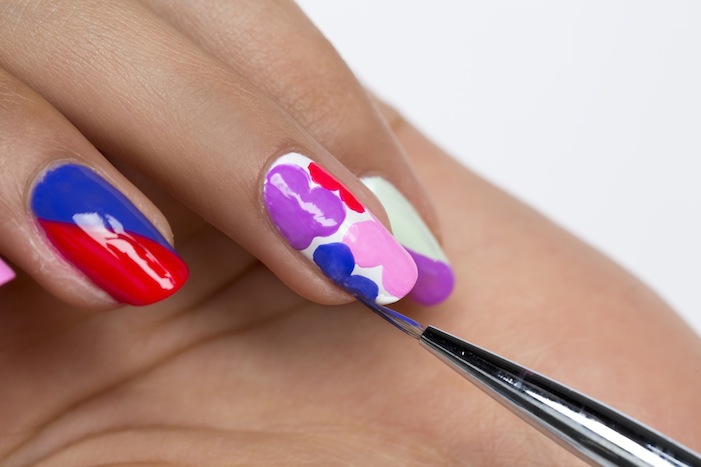 Step 4: Using a mini striper brush and a third shade of polish, create flower petals by connecting two circles together in the upper right of the nail. Then take a fourth shade and create flower petals by connecting two circles together in the lower left of the nail.
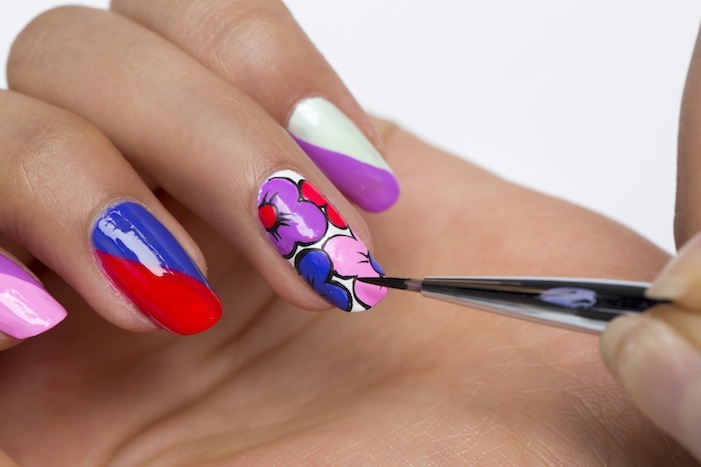
Step 5: Place a dot at the center of the upper left flower and a dot at the center of the flower on the lower right. Using a mini brush and black polish, outline the outside and center parts of the flowers.
Alternatively you can forgo a “painting” job and opt for a 3-D effect like this mani created by Anna Jasper. Customer Relations Manager & Beauty Expert at Haven Spa.






I love to do the DIY Nail arts. The nail design you have shown is just awesome. So simple and pretty summer Nail art. Anyone can do this nail art by her own. Thanks for the tutorial Sharon Feiereisen.